Main

Tag Archives | fine furniture

66 Slats / 198 Fasteners

With the white oak slats twisted into shape and drying it was time to layout exactly where each slat was going to attach to the frame and drill holes in the steel frame for where the fasteners would go. It took a few tries to get the spacing right with the dividers, a centreline was scribed and the holes were set with a punch and hammer. The steel base was clamped down to the bed and using a jig that held the drill parallel to the bed 198 holes were drilled through the 3/16″ thick steel. 37.25″ of lineal steel were drilled through over the course of two days.

As the 66 wood slats got fit into place the same drill jig was used to drill out the wood slats for the fasteners.


IMG_5936_opt IMG_5939_opt

0

Twist and Shout!

A little while back we were twisting the 3/4″ thick by 2″ wide by 34″ long white oak slats to make up Dining Table No 1. We were doing this with kiln dried wood, which typically speaking doesn’t steam bend all that well, but given that the most extreme twists for the table are around 45 degrees we tested it out, and it seemed to work without any problems. After one long day and some 70 slats twisted and clamped to the metal base to dry we decided to “test the limits” with the few that remained in the steam box. The slats were steamed for roughly 2-3 hours at 200+ degrees fahrenheit, the results were pretty incredible, to watch the bending happen check out this video.

IMG_5866_opt IMG_5873_opt IMG_5874_opt


0

Magical Metal Work

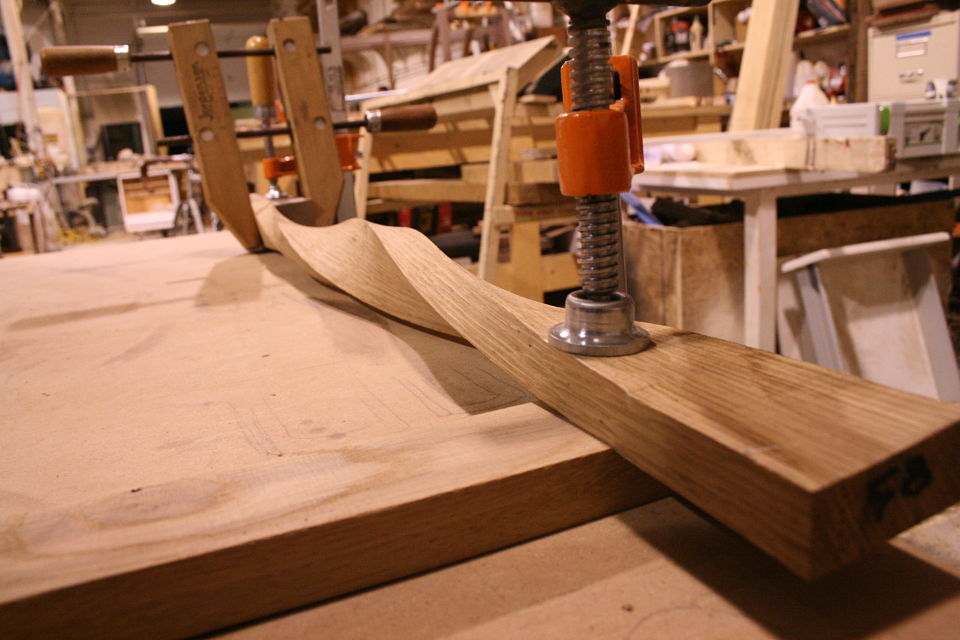
After a bit of a delay we’re back on to the metal dining table with the twisted white oak slats. I know there have already been pictures of the twisted slats and a video of us “getting our twist on,”  but we’re going to take a step back on this post.

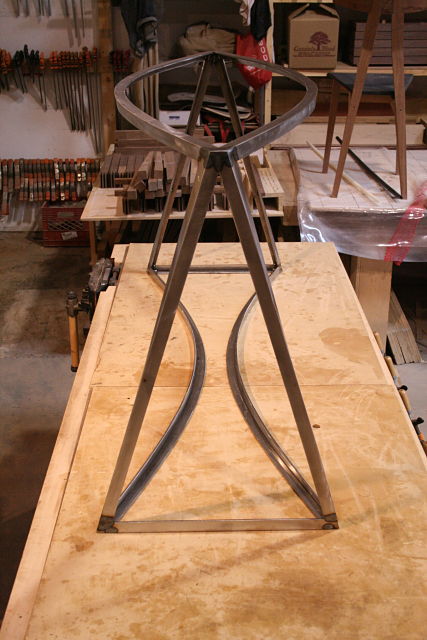
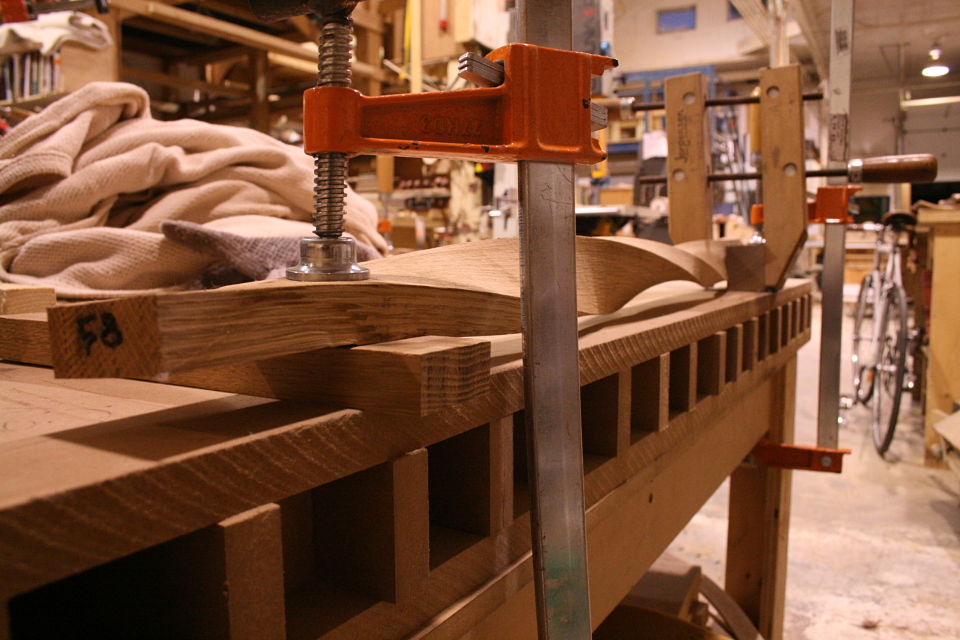
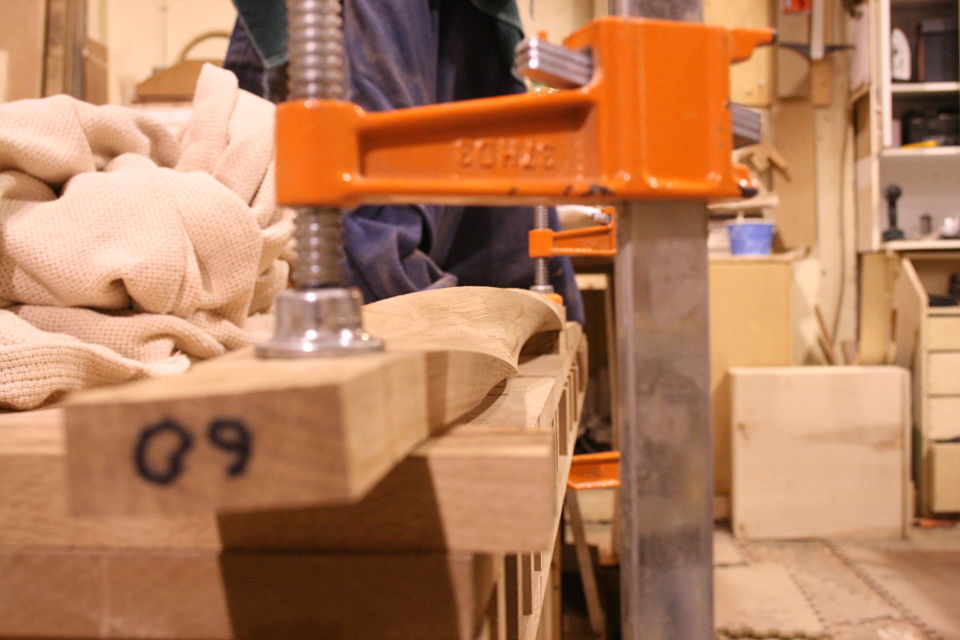
Below are pictures of the metal frame I had fabricated which will hold (frame) 66 twisted white oak slats. In order for the frame to properly hold the twisted wood slats it also requires the metal angle iron to twist from acute to obtuse back to acute, or vice-versa. This is also happening along a curve, two curves actually.

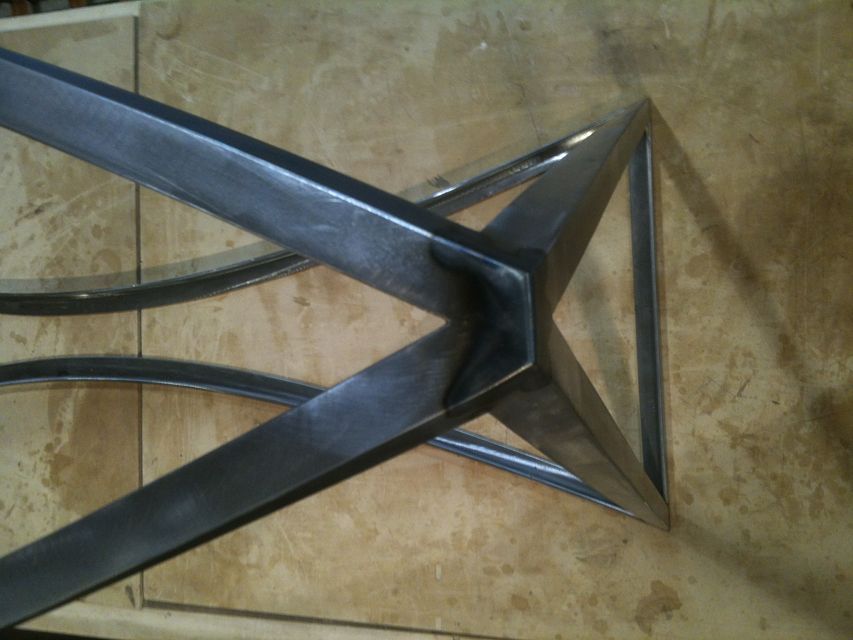
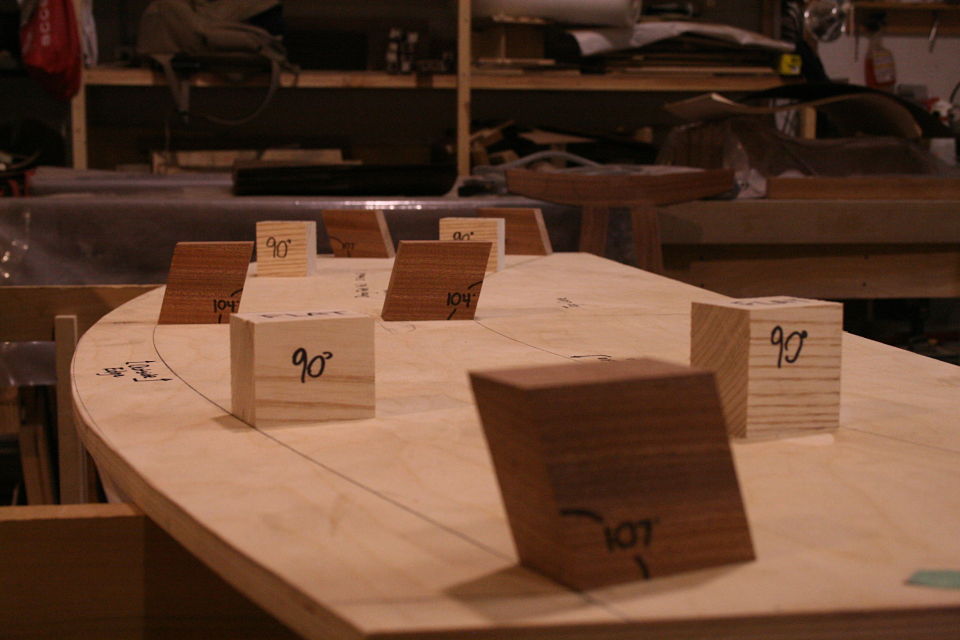
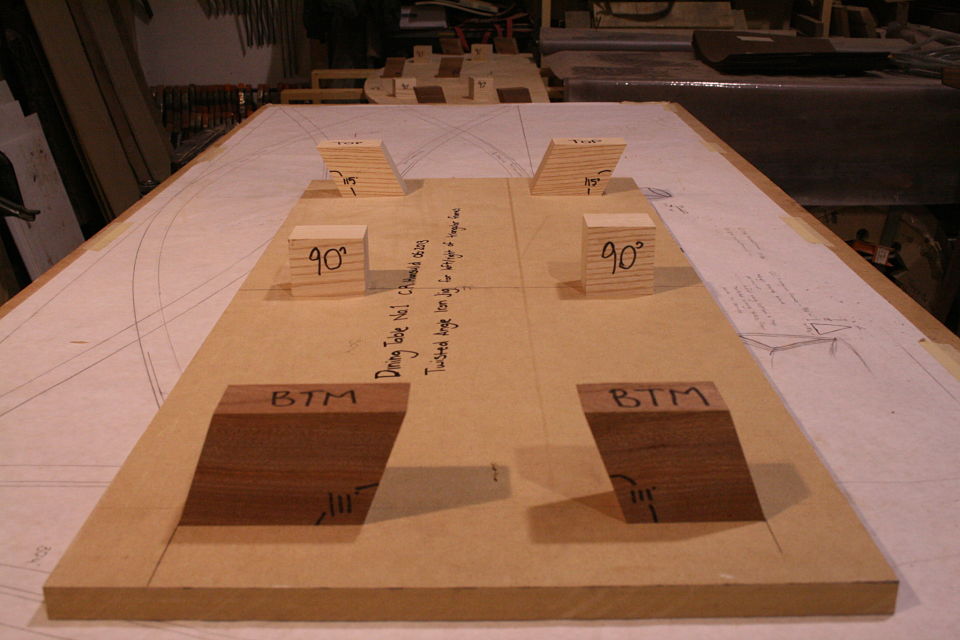
So, in order to ensure as much accuracy as possible (we’re kind of out in space after all) I not only provided a full scale drawing but also made jigs/forms for my metal worker to fabricate the curved twisting angle iron. You can see the angle blocks change from acute to obtuse along the curve, he used these to clamp a strip of cold rolled steel along, and then butt a curved section up to it tacking it along the way. The result was fabricating curved angle iron that changes from acute to obtuse back to acute, or vice-versa.

IMG_5381_opt IMG_5384_opt

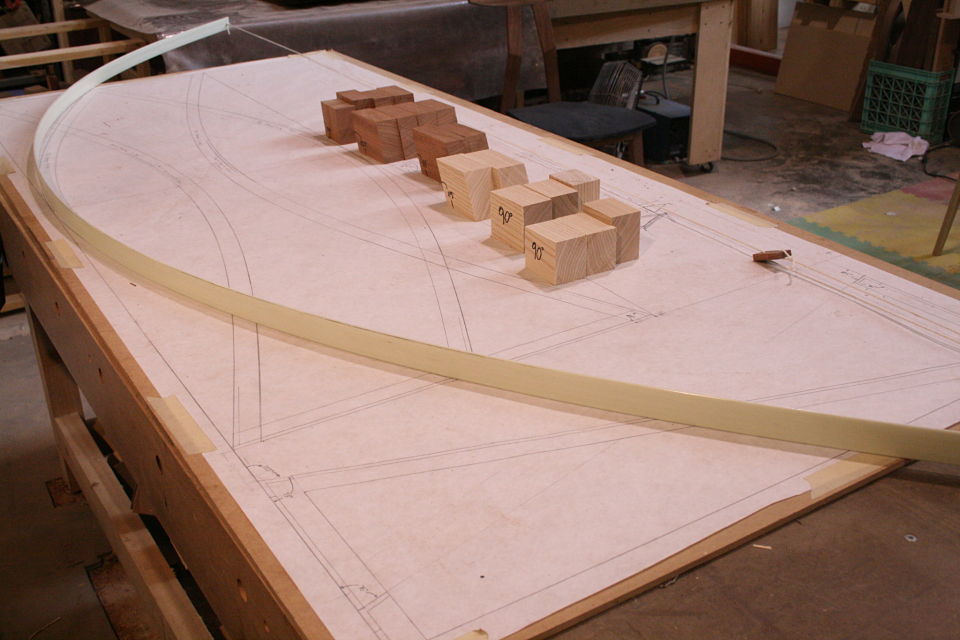
There is also a twisted straight section where the angle iron changes from acute to obtuse down the length, no curves, these pieces will make up the triangular ends.

IMG_5395_opt

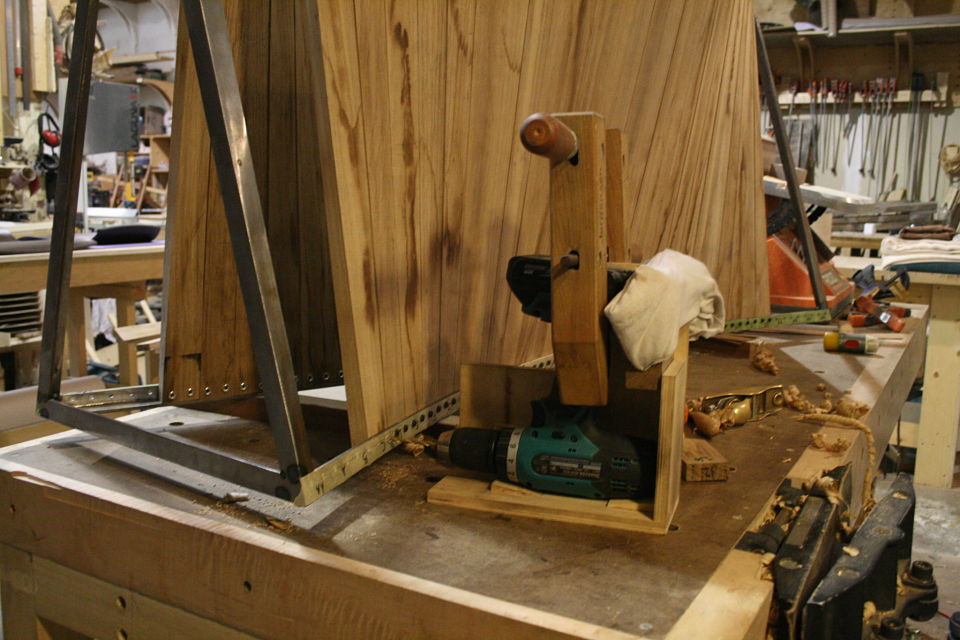
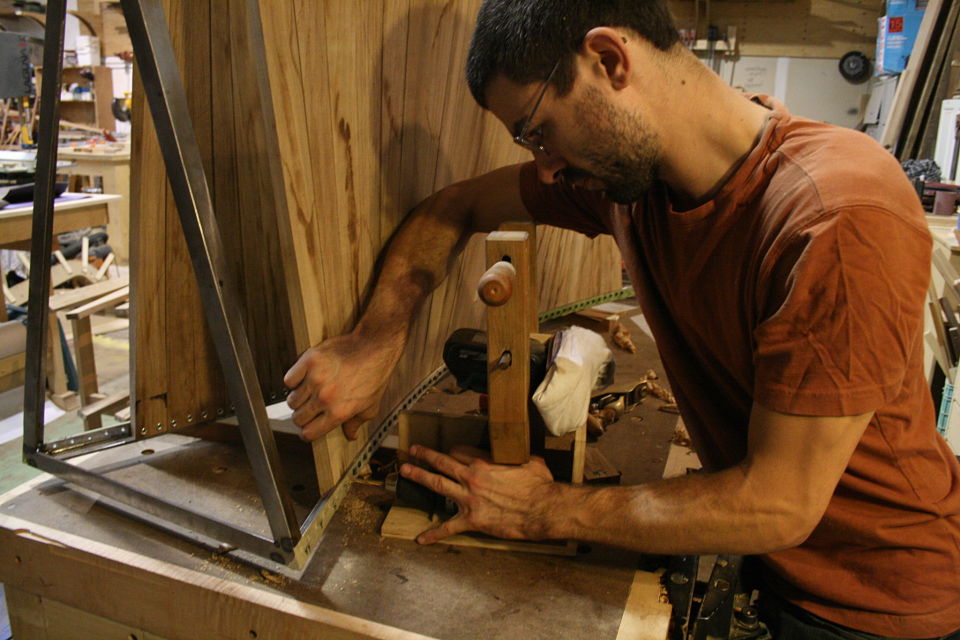
A lot of head scratching went on with this one, at this point I still had no idea just how the wood slats were going to get fit and attached to the frame. There was also the dilemma of not actually knowing if the piece would be sturdy enough to hold a large piece of glass, but its working in the world of unknown that keeps this exciting.

IMG_5569_opt IMG_1969_opt


0

Powered by WordPress. Designed by Woo Themes